

How to Make Dehydrated Dog Treats at Home Safely
- Zach

- May 6
- 4 min read
How to Make Dehydrated Dog Treats at Home Safely
Learning how to make dehydrated dog treats at home is exactly how JUST CHKN started.
My wife and I spent several years making chicken jerky treats in our own kitchen before we ever sold a single bag.
We figured out the right equipment, the right temperature, the right slice thickness, and the right amount of time through real experience, including some early batches that we were not satisfied with.
If you want to make your own treats at home, this is everything we learned.
What You Need
The equipment list is short.
A food dehydrator capable of reaching and maintaining at least 160 to 165 degrees Fahrenheit is the core requirement.
This matters more than most home treat-making guides acknowledge.
Cheap dehydrators often run cooler than their dial indicates, and for poultry specifically, reaching a safe internal temperature is not a suggestion.
It is the difference between a safe product and a risky one.
Beyond the dehydrator, you need a sharp knife, a cutting board, and airtight storage containers for the finished treats.
That is genuinely the full list.
The ingredient is boneless skinless chicken breast, sourced from wherever you do your regular grocery shopping.
We buy ours from local grocery stores the same way we shop for our own family, and we have always been comfortable with that sourcing.
Safe Temperature for Dehydrating Dog Treats
The USDA standard for safe poultry preparation is an internal temperature of 165 degrees Fahrenheit.
This eliminates Salmonella and other pathogens that can be present in raw chicken.
Set your dehydrator to at least 160 to 165 degrees Fahrenheit.
If your dehydrator only has a low, medium, and high setting rather than a specific temperature dial, use a separate meat thermometer to verify what temperature it actually reaches before trusting a whole batch to it.
Many entry-level dehydrators run meaningfully cooler than their marketed temperature, and this is not something to guess on when you are making food for your dog.
How to Slice for Even Results
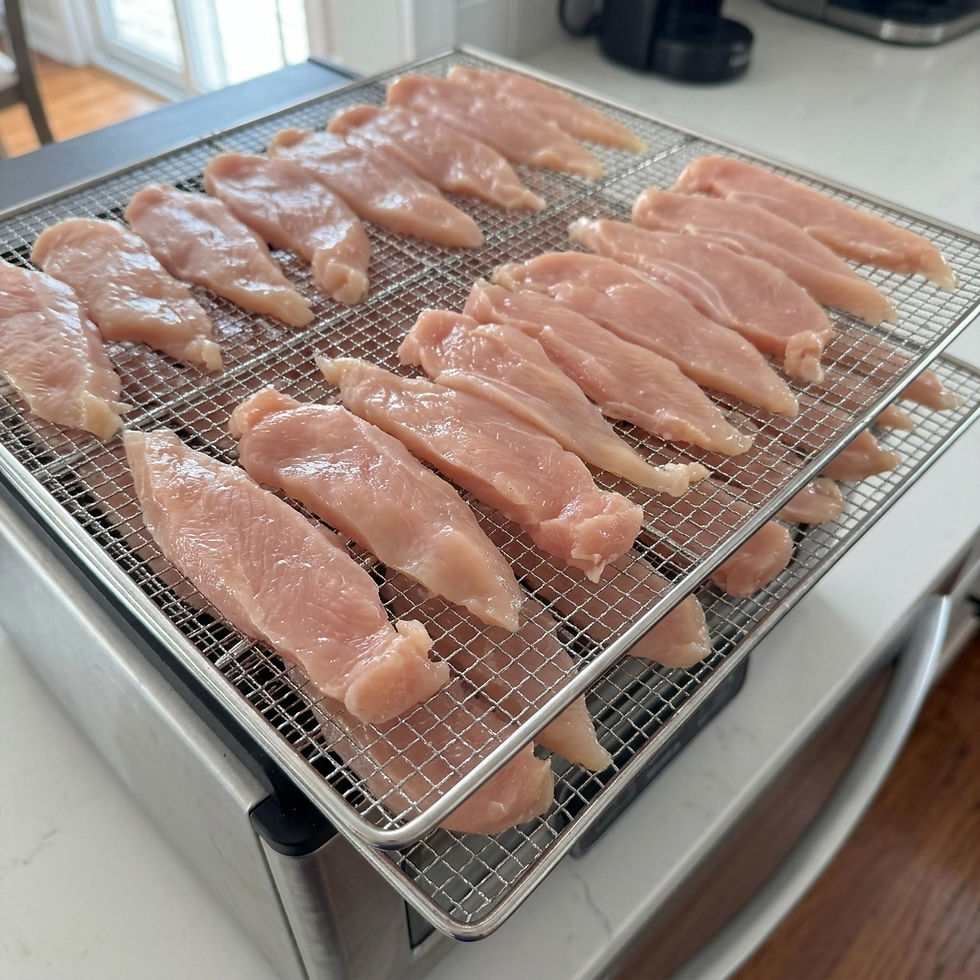
Slice the chicken breast to a consistent thickness of between one eighth and one quarter of an inch.
Thinner slices produce a crispier, more chip-like texture and take less time.
Thicker slices produce a chewier, more jerky-like texture and take longer.
Both work.
Inconsistency within a batch is the problem to avoid.
If half your slices are thin and half are thick, the thin ones will finish well before the thick ones are safe to pull, and you will end up either pulling some pieces too early or over-drying others.
Chilling the chicken breast in the freezer for fifteen to twenty minutes before slicing makes the meat firmer and significantly easier to cut cleanly and consistently.
Arrange slices on dehydrator trays with space between each piece.
Airflow is what drives the dehydration process, and overlapping pieces block it.
How Long to Dehydrate Chicken for Dog Treats
Plan for a minimum of eight hours at the correct temperature. Thicker slices may need ten to twelve hours. The finished treat should be firm and dry throughout with no soft or tacky spots.
Bend a piece. It should flex slightly and may crack along the bend, but the center should not feel moist or pliable. If there is any give or moisture at the center, it goes back in for more time.
Pulling treats too early is the most common mistake in home dehydrating.
They look done from the outside while the interior still has residual moisture that will shorten shelf life and potentially create food safety issues.
My wife and I developed our specific thickness and time combination through a lot of batches, and patience in the dehydrating step is genuinely the most important variable in the whole process.
Cooling and Storage
Let finished treats cool completely on the trays before sealing them in a container.
Warm treats sealed in an airtight container create condensation, which reintroduces moisture and undoes the work of the dehydration.
Thirty to sixty minutes of cooling time is enough.
Once cooled, store in an airtight container at room temperature for up to two to three weeks, in the refrigerator for up to six weeks, or in the freezer for up to six months.
Our post on how to store dog treats to keep them fresh covers the full storage breakdown if you want more detail on extending shelf life safely.

Why We Eventually Turned This Into a Business
After a few years of making batches at home and having friends and family ask us for bags on a regular basis, my wife and I realized we had built something other people genuinely wanted.
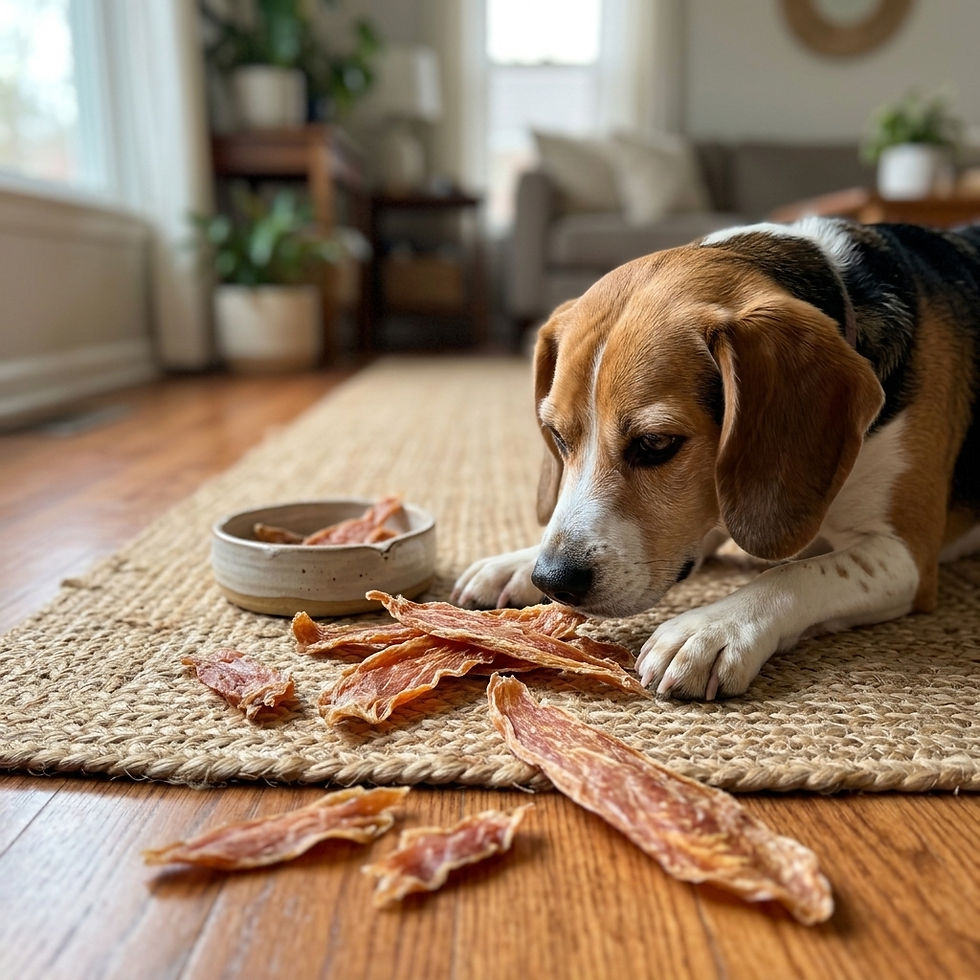
The process was consistent, the dogs loved the result, and the ingredient list could not be simpler.
JUST CHKN is still made exactly the same way, in our home kitchen, with the same sourcing and the same food safety standards we developed through years of doing it for our own dogs.
If you want the homemade result without the Sunday dehydrator sessions, our post on whether to buy treats or make your own covers that comparison honestly from both sides.


Comments